One Button Studio
Richard Bland College Podcast Recording Studio
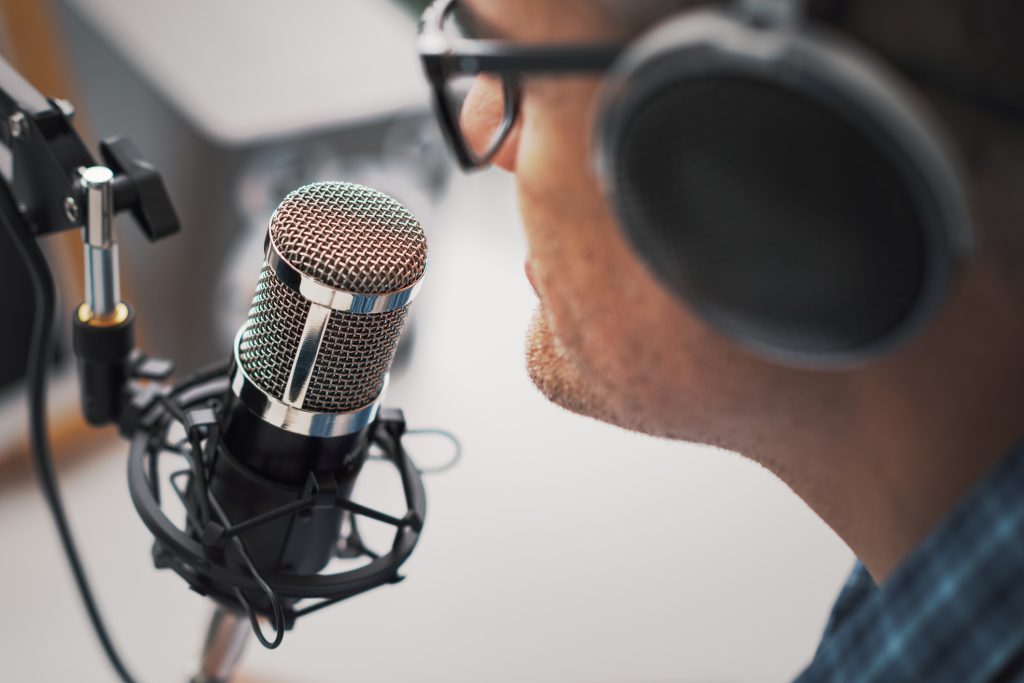
Professional speaker recording a live podcast for his channel, communication and media concept
RBC ONE BUTTON STUDIO
The One Button Studio (OBS) offers a seamless and accessible way to create professional-grade videos with minimal effort.
Designed to streamline video production, OBS eliminates the need for prior experience, making it perfect for beginners and experts alike. Equipped with essential tools like a video camera, microphone, studio lighting, green screen, RBC provided or personal computer, the studio provides everything needed for high-quality recordings.
Whether you’re producing educational lectures, practicing presentations or language skills, demonstrating software, or tackling other creative projects, OBS is up to the task. Finished recordings can be conveniently saved to your OneDrive, a USB device, or directly to your laptop.
YOU CAN EFFORTLESSLY CREATE
This concise list showcases the versatile applications of the One Button Studio (OBS). Whether you’re creating class materials, honing presentation or language skills, or demonstrating software, OBS is designed to simplify the process. Plus, it offers convenient options for saving your recordings, ensuring easy access and portability.
- Educational lectures and instructional videos for your classes.
- Presentation practice or language exercises.
- Software demonstrations.
- Create your own faculty or student podcast.
- And much more!
Your recordings can be saved directly to your OneDrive, a USB device, or your laptop for convenience.
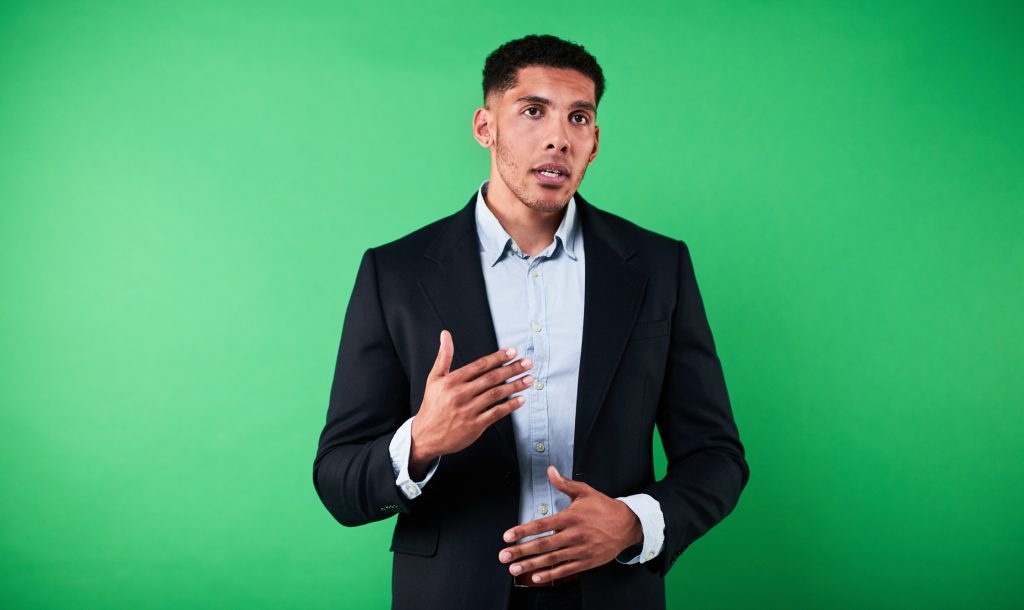
Create your green screen podcast with the One Button Studio (OBS)! Record dynamic content and save it easily to your OneDrive, USB, or laptop. Let your ideas take center stage!
SCHEDULE YOUR STUDIO TIME
Booking the One Button Podcast Studio is simple and convenient. Use our online scheduling system to select an available time that fits your needs. Whether you’re planning a solo recording or a collaborative session, our streamlined process ensures you secure your slot effortlessly. Start creating your podcast in the perfect setup! MAKE A RESERVATION
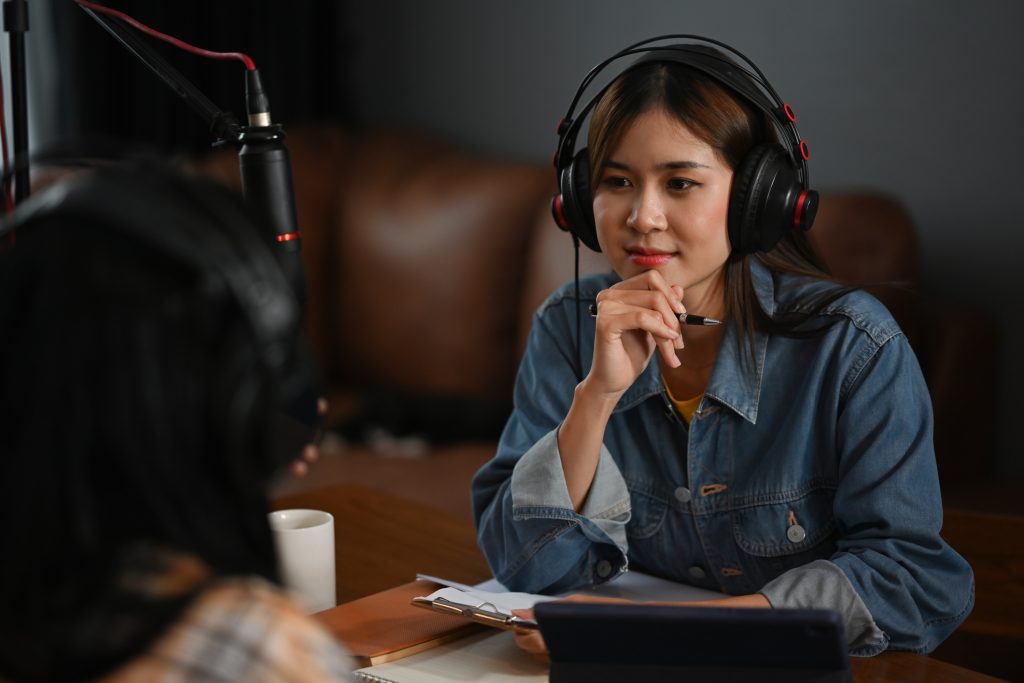
Students can engage with guests during a podcast, both using professional microphones and headphones in a cozy studio. Students and faculty can use this setup to create polished content.
ONE BUTTON STUDIO SUPPORT
If you need help while using the studios, don’t hesitate to look at the laminated instruction sheets in the studios. We’re here to ensure your experience is smooth and productive.
Additionally, we encourage you to explore our comprehensive guides below. These resources cover everything you need to know about utilizing the One Button Studio effectively, from setting up your recording to making the most of its advanced features. Dive in and discover how easy it is to create high-quality videos with OBS!
Plan Your Visit
-
Making a Reservation
-
Please make your One Button Studio reservation at least 48 hours in advance.
You will receive a confirmation email, as well as a reminder email sent the day before your reservation. Tap here to MAKE A RESERVATION
-
-
Appearance & Clothing For Effective Green Screen Recording
-
Appearance and Clothing
Opt for solid clothing in pale or dark colors for the best results.
Minimize jewelry, as larger pieces might create reflections or make noise that could be picked up in your recording.
Glasses are fine if needed, though they may cause minor reflections.
Stick to your usual hairstyle and makeup—no need for anything out of the ordinary.
Avoid the following:
- Green clothing or accessories.
- Patterns like tweed, herringbone, small checks, or stripes, especially with the color green in patterns.
- Glittery fabrics or garments with attached jewels.
- Large logos.
-
-
How to Save Your Recording
-
Bring a USB drive with at least 4 GB of free space to save your video file. If you forget your USB or don’t have one, you can upload the file to your OneDrive directly from the studio computer.
For Apple users, the Airdrop feature on your iPhone or MacBook provides a convenient way to transfer the video from the studio computer to your device.
-
If you experience technical difficulties, please contact the library to reach a member of our technical staff. They will be able to assist you in resolving any issues promptly.
Get Started in One Button Studio
-
Upon Arrival
-
Please arrive at least ten minutes before your reserved time slot so that you can set up the studio and test and familiarize yourself with the equipment.
The One Button Studio is located in the AIC building upstairs room 235 & 236. Use your RBC-issued ID keycard to access the room.
The lights and camera will turn on automatically when you walk behind the desk.
Silence your cell phone when you enter, so you won’t be interrupted later.
-
-
Preparing Your Presentation
-
On the upper left section of the desk, there are two ports where you can insert your USB drive. Each port is marked to show you on which monitor your content will appear.
- Insert your flash drive and drag your presentation file to the desktop.
- Open your presentation file on the desktop.
- You can use the single monitor to see your slides. If you have notes saved in the PowerPoint, use the “presentation view” to show your notes on the teleprompter. The tabletop monitor displays what will be recorded.
-
-
Podcast Recording Checklist
-
Green Screen Recording Checklist
-
Audio Recording Only Checklist
-
Preparing to Record
-
Stand on the floor sign to be sure you’re centered in the video frame and not too close to the green screen. This also positions you appropriately for the microphone above.
Check your position in the monitor and adjust as needed to avoid too much or too little headspace.
Use the control panel on the left side of the desk to:
- Select or change your background
- Manipulate your presentation
- Change your position on the screen
You will see the choices you make reflected on the monitor in front of you.
The large screen in the center of the desk shows what is being recorded.
-
-
Start Recording
-
When you are ready to record, click the large red button on the lower left of the table to begin the recording. There will be a three-second countdown, and a “recording” light will illuminate to indicate when your recording has begun.
A recording light will also be illuminated outside the room to indicate to those coming through the hallway that someone is recording in OBS.
Tips
- Relax, take a deep breath, and smile!
- Look at the camera as you speak.
- Speak clearly, project your voice, and avoid speaking too fast.
To end your recording, wait three seconds and then press the large red button. Do not press the button twice!
-
-
After Recording
-
When you are finished recording, click the red button again, and the recording light will disappear. This indicates that your video recording is finished.
Your recording is automatically saved on the studio desktop. You can preview your video by touching the preview button on the control panel.
If you are not satisfied with your recording, simply record a new one! You can make as many attempts as you need.
To take the final recording(s) with you, you may upload it to your OneDrive or copy it onto your flash drive.
-
One Button Studio FAQs
-
Can I bring my own camera or equipment?
-
No, the One Button Studio is equipped with all the necessary recording equipment, and external cameras or equipment are not allowed. This ensures a consistent and user-friendly experience for all users.
-
-
How long can I reserve a recording session?
-
You can reserve the One Button Studio for up to 2 hours per session. If you need more time, you can book consecutive time slots.
-
-
Can I edit my video in the One Button Studio?
-
The One Button Studio is primarily for recording. You will need to use video editing software on your own computer to edit your video after recording.
Our technical staff can provide guidance on how to get started with video editing.
-
-
What software is available on the computer in the One Button Studio?
-
The computer in the One Button Studio does not have standard video editing software such as Adobe Premiere Pro and Final Cut Pro.
-
-
How do I add graphics or text overlays to my video?
-
You can add graphics or text overlays during post-production using video editing software. Our technical staff can provide guidance on how to add overlays to your videos during the editing process.
-
-
Can I record with multiple presenters at the same time?
-
Yes, you can have multiple presenters in a single recording. Ensure that everyone is properly positioned, and their voices are picked up by the microphone. You may want to practice the timing and positioning of each presenter before your recording session.
-
-
Is there a limit to the number of reservations I can make?
-
There is no set limit to the number of reservations you can make, but please be considerate of other faculty members and book only the time you need. If you need to make multiple reservations, ensure that you use the studio efficiently.
-
-
How can I access my recorded video after I leave?
-
Your recorded video will be available on the desktop computer within the studio. You can upload it to your OneDrive, save it to a USB drive, or transfer it to your own device. Our technical staff can assist you with this process if needed.
-
-
What if I encounter technical issues?
-
If you experience technical difficulties, please contact the library to reach a member of our technical staff. They will be able to assist you in resolving any issues promptly.
-